Autonomous vehicles: Training a donkey car through reinforcement learning in a simulation
An autonomous vehicle project at Univeristy of Tartu
- An autonomous vehicle project at Univeristy of Tartu
- 1. Motivation
- 2. Donkey Simulation
- 3. From simulation to real life
- 4. Energy consumption
- 5. Conclusion
- 6. Bibliography
1. Motivation
We want to train a model that can compete in the ADL Minicar Challenge 2023 at the University of Tartu. We thought it would be interesting to train a model in a simulation, using reinforcement learning, which is what this post will be focusing on. The reason we thought training a reinforcement learning model would be interesting, is that we thought this would be a good way of reducing human driving biases. If we trained a model based on our own driving, then it would start driving like us. The question then becomes, are we even good at driving? Would a model that started from scratch learn some other biases than our human driving biases? We had a lot of questions like these in mind, so we wanted to explore the territory for ourselves. We will walk through our discoveries and process, as well as what we would like to expand upon, in a way that should make it possible for readers to follow along and reproduce our results. We also have a few things we were wondering about energy consumption, and will briefly address that too in this blog post.
2. Donkey Simulation
To start, we need to find simulator, where we can train our car. For this we use Self driving car sandbox.
2.1 Self driving car sandbox
The self driving car sandbox is great, because it is made for the donkey car. It is made in Unity, which means we can easily make additions and changes to the simulation, which we will get into a bit more further down. We have made a fork of the project, which is where all our changes to the simulator will be: Self driving car sandbox fork
2.2 Reinforcement learning integration
Luckily we’re not the first that wants to use reinforcement learning in the self driving car sandbox. Using the OpenAI gym-donkeycar environment for donkey car makes this a trivial task.
2.2.1 OpenAI Gym Environment for Donkey Car
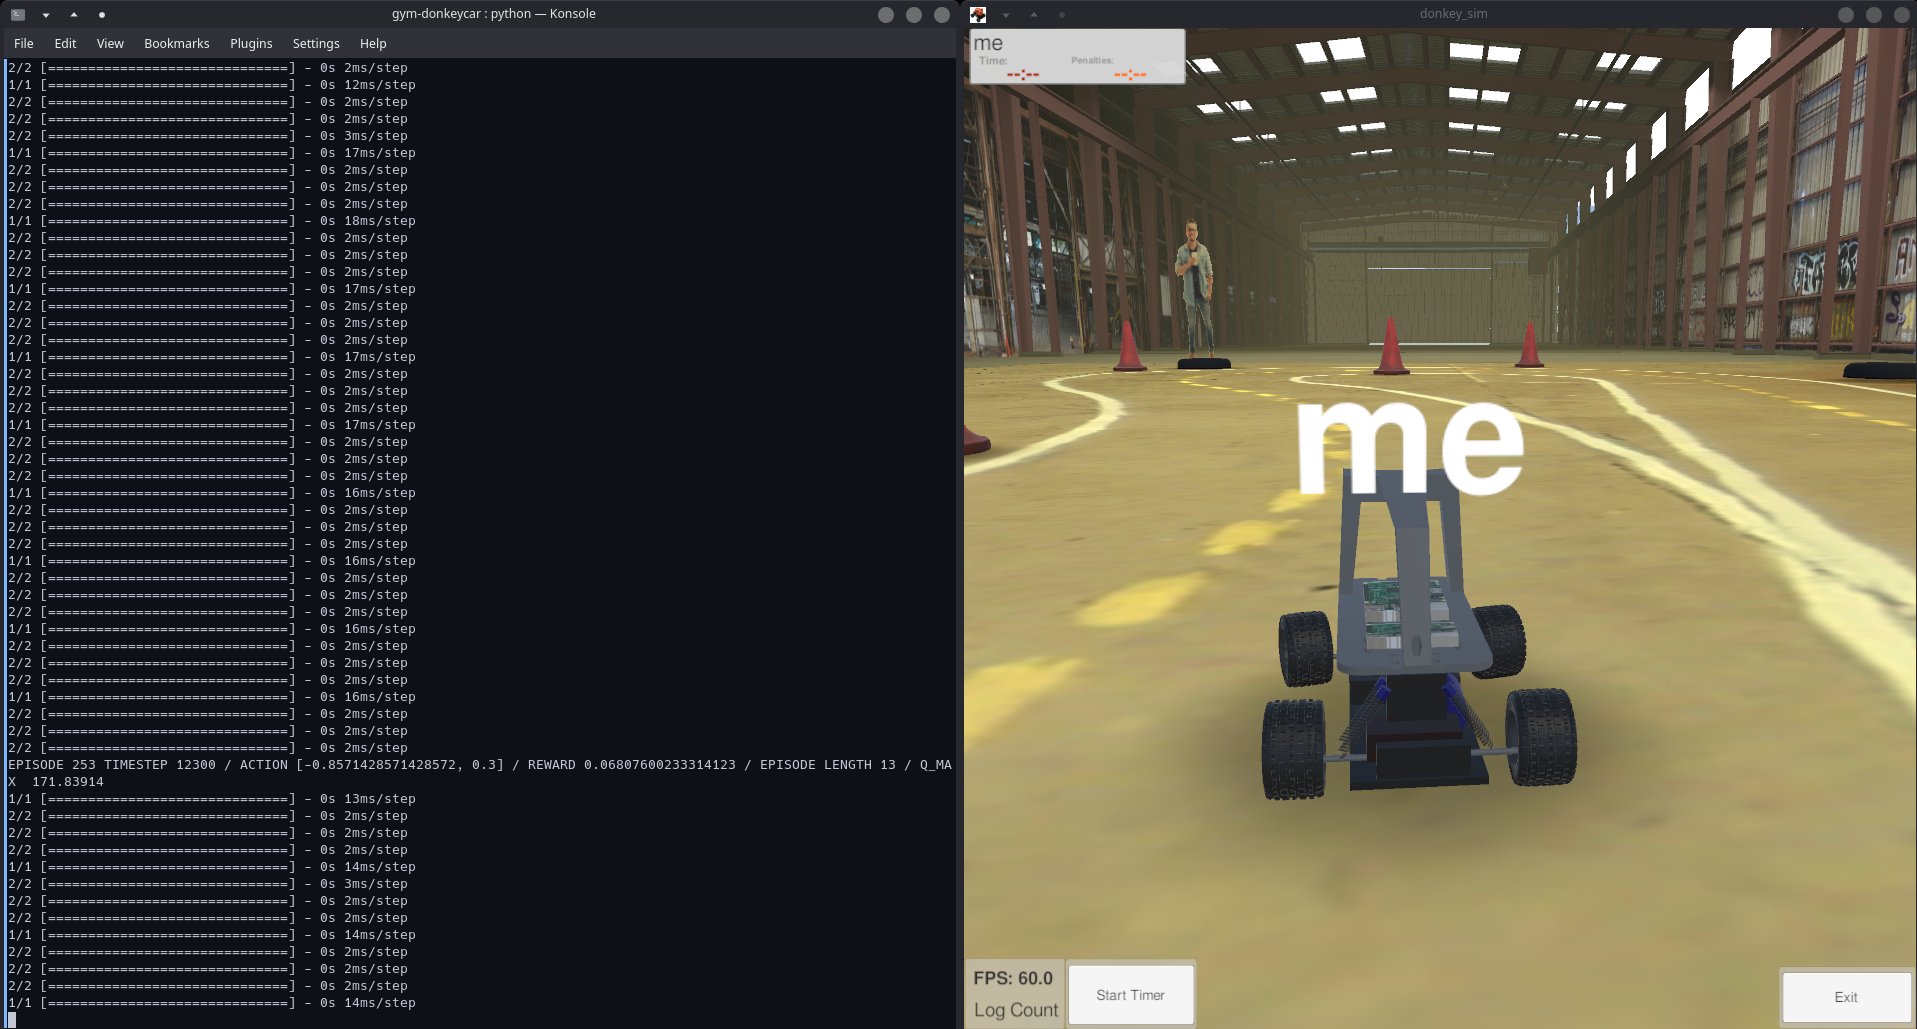
The OpenAI Gym repository has a reinforcement learning implementation based on this blog post about implementing Double Deep Q Learning in the donkey simulator. Their implementation is a little old, and has a few issues with the latest versions of its libraries, which we have fixed in our fork of the project. Starting the training is quite simple, once you have set up the project and the simulator, simply use python gym-donkeycar/examples/reinforcement_learning/ddqn.py --sim <path to simulator>. Which starts the training as seen in the image below.

2.2.2 Expanding upon the solution
We now how a working simulated environment that lets us train a reinforcement learning model for our donkeycar. Now the task becomes to make adjustments, such that is suits our use case (ADL Minicar Challenge 2023) as well as possible.
2.2.2.1 Custom course and custom obstacles
A big motivation for using the self driving car sandbox, is that is is made in Unity, which means we can easily make our own adjustments and changes. Essentially we wanted to build the ADL Minicar Challenge 2023 course in Unity, such that we can train our model in a simulated environment that looks a lot like the environment the real car will be driving in.
2.2.2.1.1 Finding textures
The most important part of the course are the walls, as this is what is defining the path the car will follow. It would be most ideal for us, if the textures in the simulator looks like their real life counterparts. For this we found a texture database called Polyhaven, which had just the kind of textures we needed to recreate the course.
2.2.2.1.2 Implementing it in Unity
To make it in Unity we first had to take measurements of the course and the real life donkey car, such that we would have the correct proportions in our simulation.
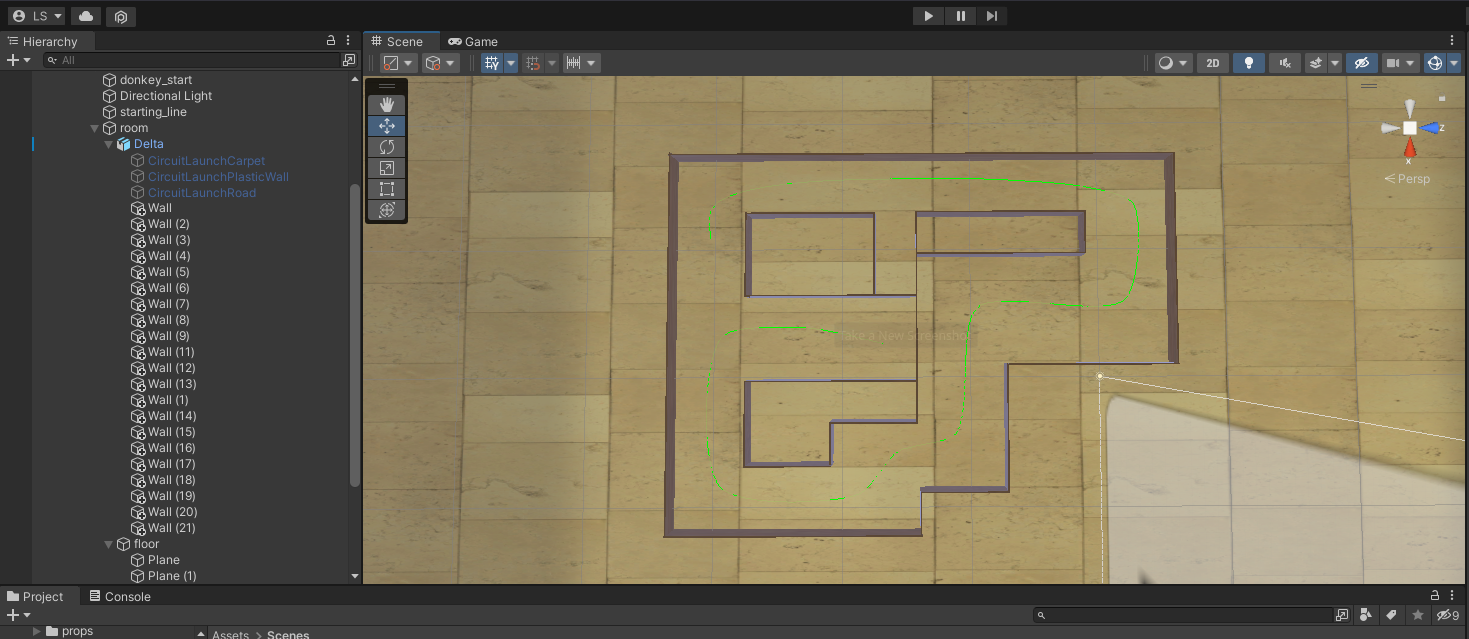
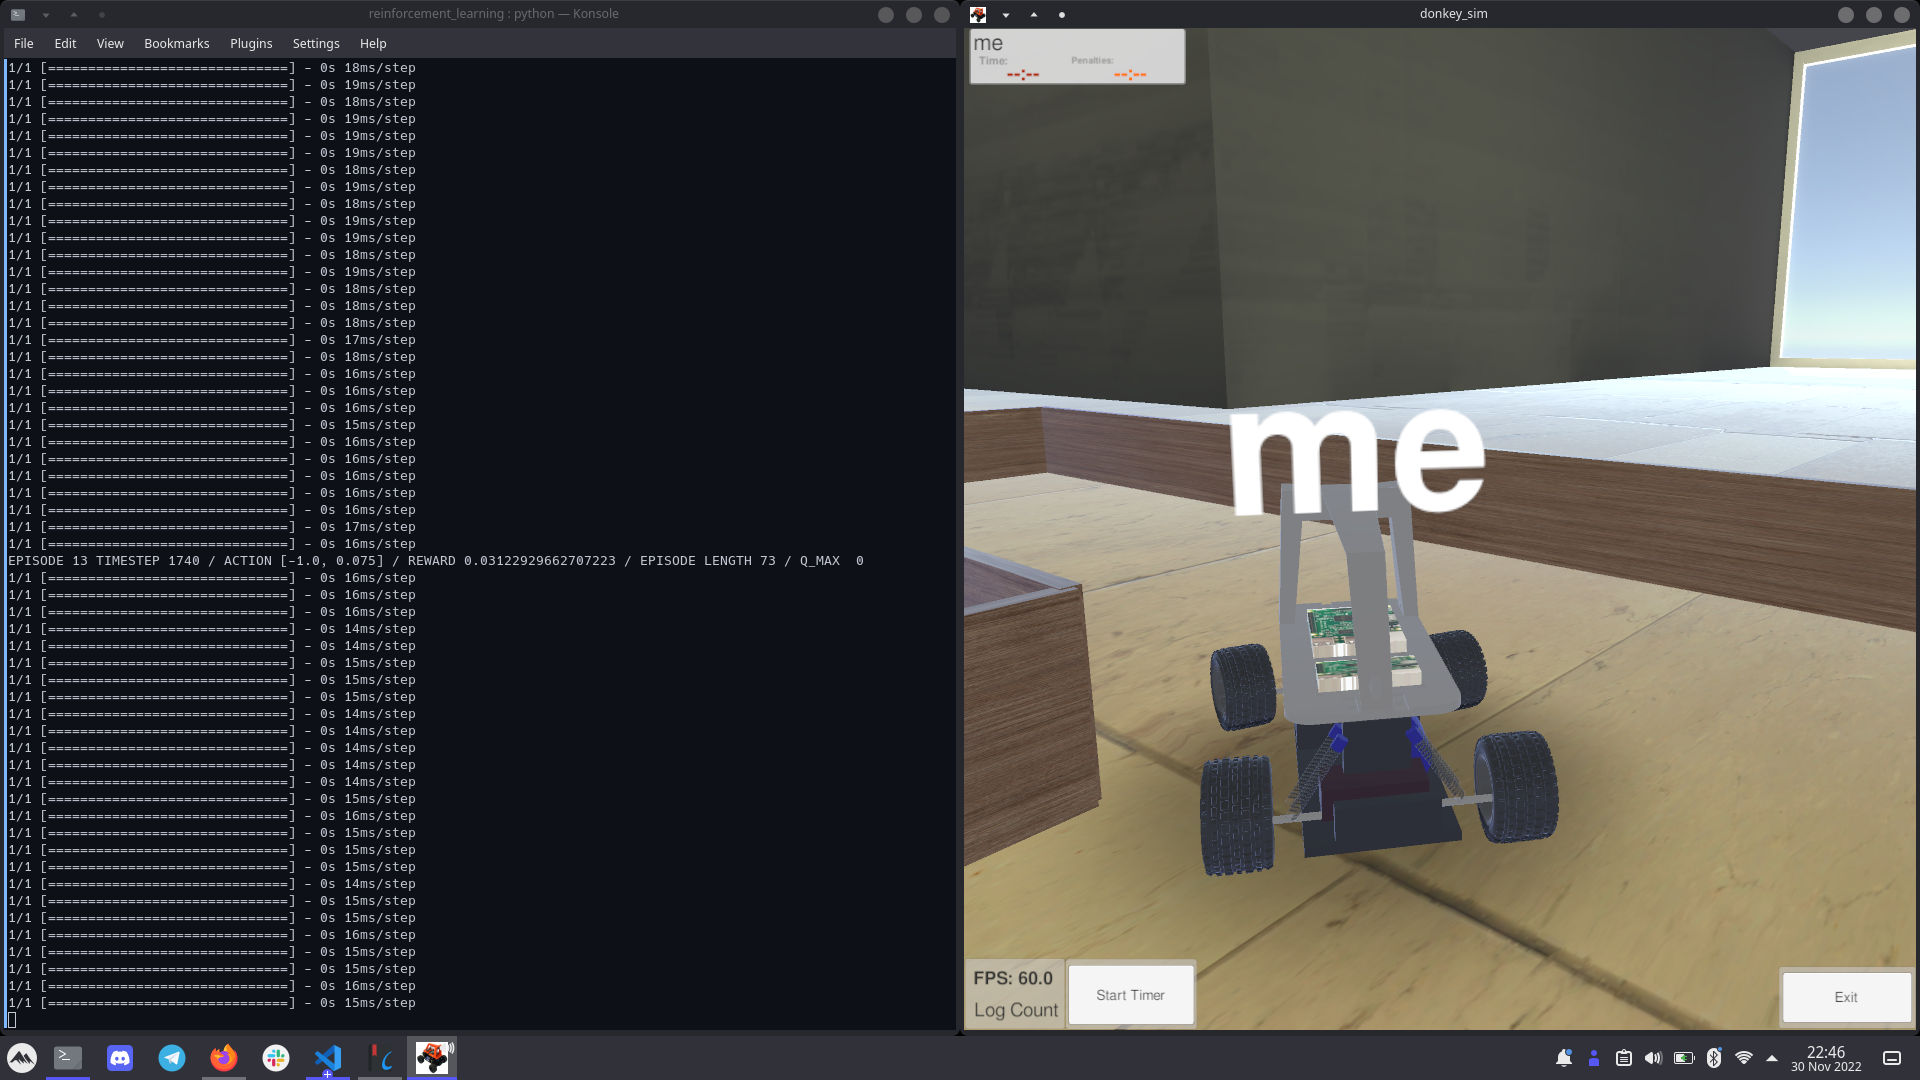
From there, implementing the course in Unity was fairly trivial, as Unity is mostly drag and drop. We placed a bunch of cubes, made them colideable and gave them a wood-like texture from Polyhaven. Then we moved the Car spawn point to the course start point, and defined a path throughout the course that our model will be able to use to evaluate how well it is driving. All resulting in this:


The DDQN implementation transforms the image into a smaller black and white image, such that it is much easier to process. This gives us images like this one:
 .
.
While this is great, it still leaves a lot of noise in the image, in terms of showing things that are not relevant to the track, in this case the background.
We can improve upon this by cropping the top part of images off, such that only the track is shown to our model.

Changing gym-donkeycar for better learning
Changing reward function to use LIDAR
The default reward method uses cross-track-error. In the Unity environment, there is defined a path throughout all the courses. The cross-track-error tracks how far the car is from this path. This is how the code looks:
def calc_reward(self, done: bool) -> float:
    # Normalization factor, real max speed is around 30
    # but only attained on a long straight line
    max_speed = 10
    if done:
        return -1.0
    # Collision
    if self.hit != "none":
        return -2.0
    # going fast close to the center of lane yields best reward
    return ((1.0 - (self.cte / self.max_cte) ** 2) * (self.speed / max_speed))
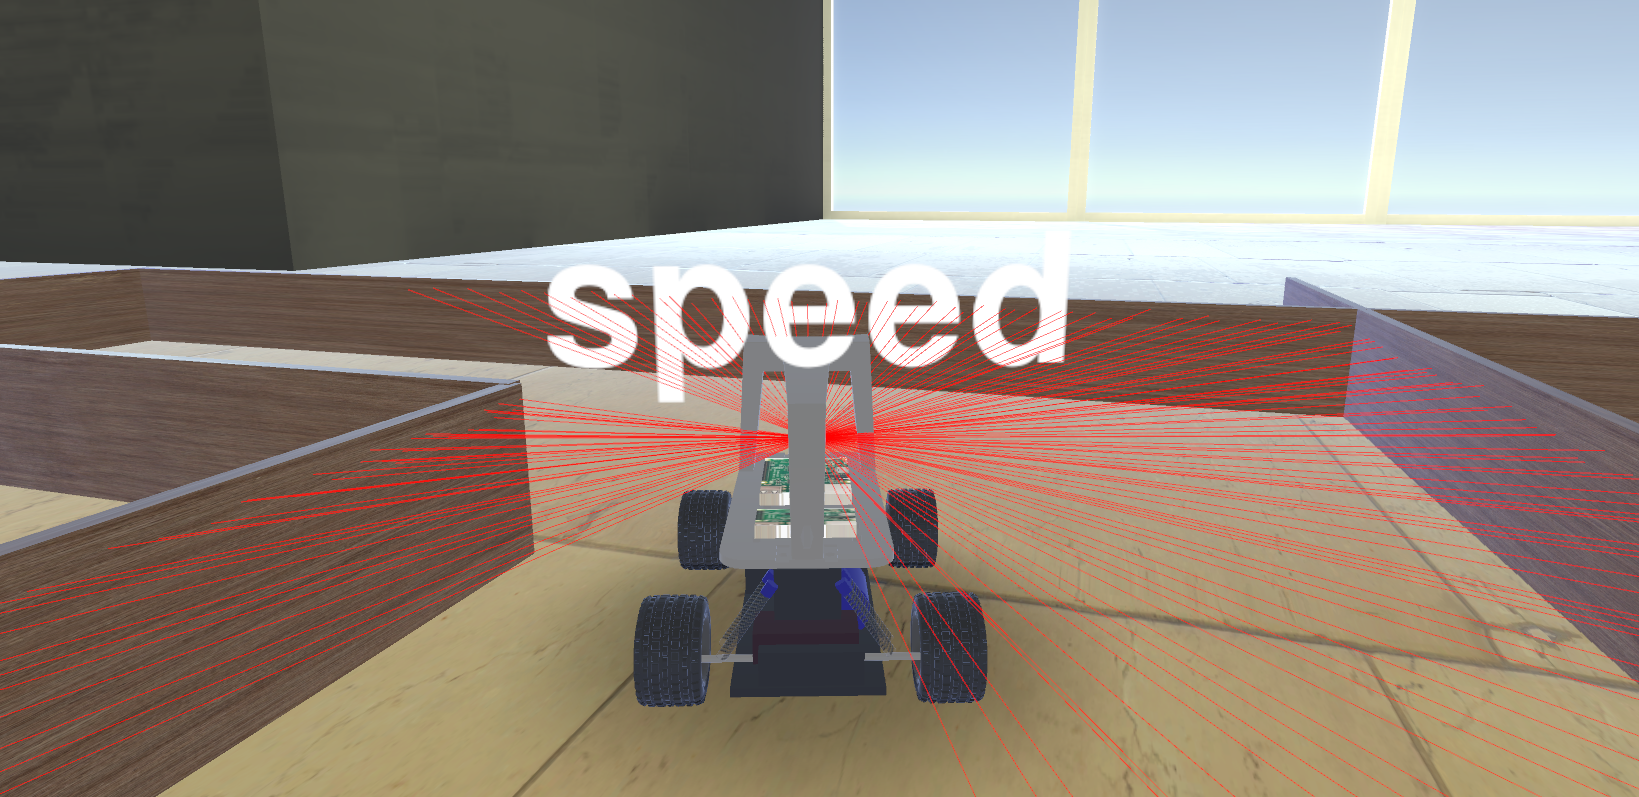
Cross track error makes a lot of sense, if your course might not have some hard defined boundaries, but in our case it does. The hard defined boundaries being the walls in the course. We would rather have the reward be calculated with this in mind. Therefore we have changed the reward function to use LIDAR, which can essentially be seen as shooting out a lot of lasers in a bunch of different directions and calculating the distance to the first thing the lasers hit. As seen in the image below:
 \
\
Instead of having a reward function that tries to minimize the cross track error, we will instead be using a reward function that tries to maximize the minimum distance to the walls on the course. We have implemented this as such:
def calc_reward(self, done: bool) -> float:
    if done:
        return -1.0
    # Collision
    if self.hit != "none":
        return -2.0
    # If a laser doesn't hit anything before self.max_lidar, then it is -1. We remove these from our calculations.
    lidar = self.lidar[self.lidar >= 0]
    return np.power(np.min(lidar) / self.max_lidar, 2)
While this change will probably not have a big impact on our model, it is nice to use a reward function that better reflects our goals.
Changing reset conditions
When training the DDQN model on our course we quickly ran into some issues, it didn’t seem to improve a whole lot. After digging through the gym_donkeycar code, we stumbled upon this piece of code:
def determine_episode_over(self):
    # we have a few initial frames on start that are sometimes very large CTE when it's behind
    # the path just slightly. We ignore those.
    if math.fabs(self.cte) > 2 * self.max_cte:
        pass
    elif math.fabs(self.cte) > self.max_cte:
        logger.debug(f"game over: cte {self.cte}")
        self.over = True
    elif self.hit != "none":
        logger.debug(f"game over: hit {self.hit}")
        self.over = True
    elif self.missed_checkpoint:
        logger.debug("missed checkpoint")
        self.over = True
    elif self.dq:
        logger.debug("disqualified")
        self.over = True
    # Disable reset
    if os.environ.get("RACE") == "True":
        self.over = False
This code determines whether the car should be reset or not. It is used a lot in reinforcement learning, as when the car messes up, we want to put it back into a state where it can try again. However, for us, it seemed like the car was resetting a lot more than we’d like it to, which made it very hard for the car to improve, as it didn’t get a lot of room to experiment and thereby get rewarded even further. We thought to ourselves, that the only disqualifying behavior the car can really do, is to crash into something, so we decided to update this function to something much more simple:
def determine_episode_over(self):
    # we have a few initial frames on start that are sometimes very large CTE when it's behind
    # the path just slightly. We ignore those.
    if math.fabs(self.cte) > 2 * self.max_cte:
        pass
    elif self.hit != "none":
        logger.debug(f"game over: hit {self.hit}")
        self.over = True
While it may not look like much, this actually massively improved the rate in which our model learned, making the model able to traverse much further into the course much faster.
2.2.2.3 Changing the throttle dynamically
Adding adaptive throttling to our model turns out to be very easy, it is essentially just expanding the output space by one variable and sending this variable to our simulation as the car’s throttle. However, while implementing it is easy, training the model becomes a lot harder. Thus for now, we have decided to let the throttle remain static, in the case of our simulation it is 0.075.
3. From simulation to real life
Going from simulation to real life has a lot of challenges.
3.1. Porting a model to the donkeycar
It turns out, porting a model to the donkeycar is rather simple. Here is an example of us, porting another simple reinforcement learning model to the donkey-car:
from stable_baselines3 import PPO
from donkeycar.parts.keras import KerasPilot

class RL_PPO(KerasPilot):
    def __init__(self):
        print("Setting up our model")
        super().__init__()

    def compile(self):
        print("Compiling our model")
        self.model = PPO.load("./models/ppo_donkey")

    def inference(self, img_arr, other_arr):
        action, _states = self.model.predict(img_arr, deterministic=True)
        steering = action[0]
        throttle = action[1]
        return steering, throttle
The only two required fields to implement are compile and inference. Inference being the method that is called to make decisions. The size of the images passed to inference matches the size of the images in our simulator, and the output space expected from inference matches the output space of our models from our simulator. It is rather plug and play, and very similar.
4. Energy consumption
Training AI models alone is an extremly energy intensive task. Besides that indiviual vehicles are even more of a threat to the climate crisis. As a consequence - let’s give the project a little green twist and try to think about some approaches to minimize energy consumption both for model training and while driving. The latter might also include adjustments to the hard and software on our Donkey Car. Maybe even the model we use can also account for later battery usage of the car and can therefore have a positive impact on it.
The key to comparing and later on reducing energy consumption will be to monitor it.
Firstly we would have to monitor it during training which can be significant as stated before but it might also be neglectable comparing it to the overall driving and life time of a potential fleet of cars that would make use of it. Nevertheless we should pay attention to it as soon as we start training our models in a later stage of the project.
Secondly and more importantly there is the engery usage of the car while driving. In the case of our Donkey Car power is supplied by a about 8 V, 1700 mAh Li-Po battery. In order to get its energy level and change we need to know the current capacity (C) and voltage (U) over time as we can get the energy (E) by E = C * U . So far the Donkey car does not provide any means to poll the current capacity but retrieving the voltage is or better should be possible which we will dive into in the next section.
4.1 How to retrieve voltage on Donkey car?
So how do we get it? First - where do we have to put our attention among all those circuits, cables, sensors and motors of the Donkey Car? We can see that the battery is plugged into the blue circuit board at the top of the car - this is the Robohat MM1 which is a microcontroller made for robotics. In this case its main use is to send the steering commands from the Raspberry Pi to the motor. It is said to have a INA219 current sensor so voltage should be available for us. It also provides a bunch of pins over which we can retrieve information from it such as the SERVO pins for the steering commands. The pins that we are interested in is the PA02-pin or BATTERY-pin - it seems to give us information about the voltage of our battery. But how to talk to it?
As you might remember from the car setup there is this Circuit Python code running on the robohat. We can connect to the robohat via USB to access the code. We are mainly intersted in the code.py file as this is the main file that is executed once power is provided for the robohat. It includes a setup and then runs in an infinite loop to poll steering information from the Raspberry Pi which is also done by some of those pins. In the same manner we can retrieve values from the¸ analog BATTERY-pin in a quite easy way .
from analogio import AnalogIn
analog_in = AnalogIn(board.BATTERY)
print(analog_in.value)
The only problem now is that the values are from a range of 0 to 2^16 - clearly not a value range we expected for voltage. We have to interprete it as proportion of the maximum voltage. But still the values are around 4.7 V which is a little off from the around 7.5 V that we get from the multimeter - so still a issue to work on.
Finally, what are our options to store those values and monitor while the car is driving in laps? Basically we see two options both with their very own challenges. We could send the voltage values to the Raspberry over pins using the UART protocol and store them right next to the recorded image data which would be the most favourable option. But we would have to think about how to poll the pin values from the Raspberry which is not done currently. In comparison the naive option that is currently partially working (just one voltage value can be written) is to store the results in a file on the robohat. One has to pay attention to that the robohat file-system is read-only thus we have to remount it so that it can write to itself (just create a boot.py file with storage.remount(‘/’,False)). Downside: you loose write access to the hat from your computer, so it is getting less convenient to make further changes to the code. As you see, there is still some work to do.
Our roadmap would be: store the values conveniently - get the right values/ the values right - also retrieve current capacity.
5. Conclusion
We have managed to train a self-driving model in a simulator, using reinforcement learning, which is what we set out to do. We then found out how to port models from the gym-donkeycar environment to the donkeycar environment. A future step could be to test how well a model trained on the simulated ADL Minicar Challenge 2023 course would perform on the real one. We have also been able to somewhat track energy consumption, which could be interesting to use when training models, like train models that try to minimize energy consumption over distance traveled. One of our goals was to reduce human bias, by not having the car learn from a human driver. However, we have instead just introduced human biases in a lot of other places, such as how we choose to reward to car.
6. Bibliography
ADL Minicar Challenge 2023
Self driving car sandbox
gym-donkeycar